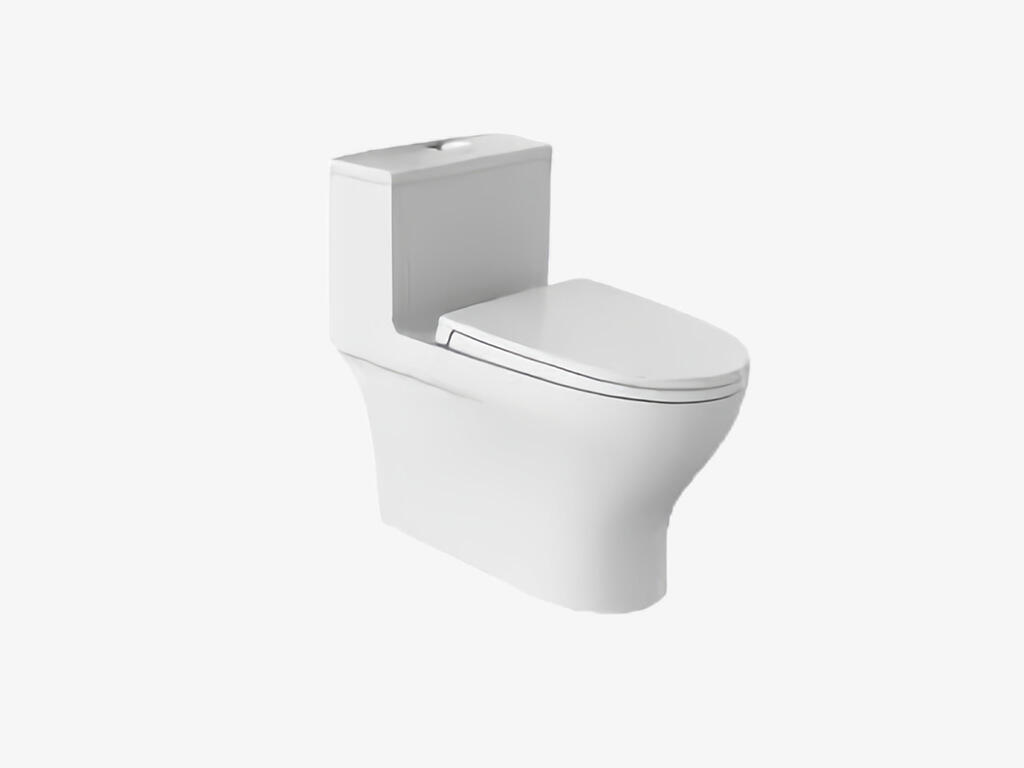
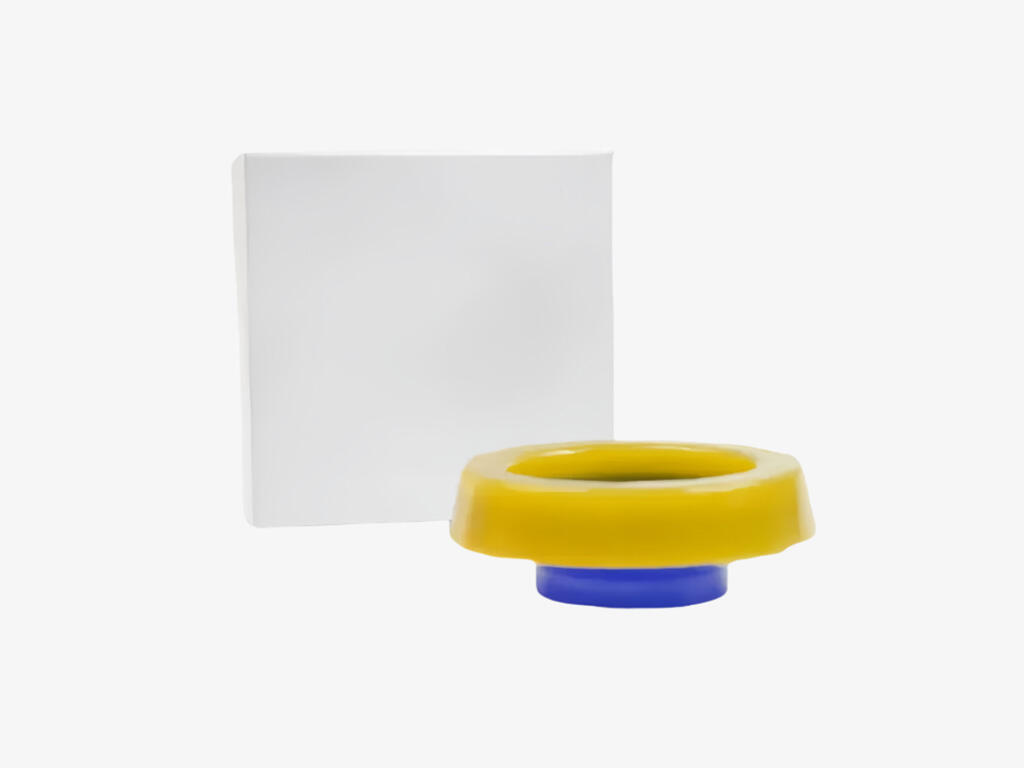
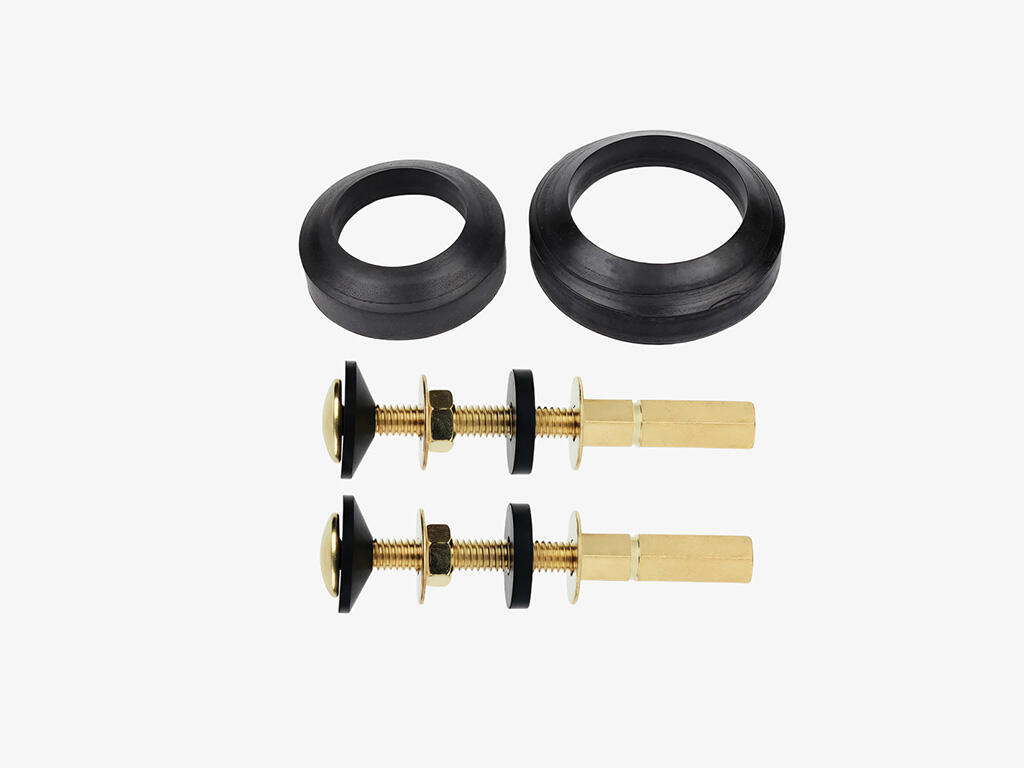
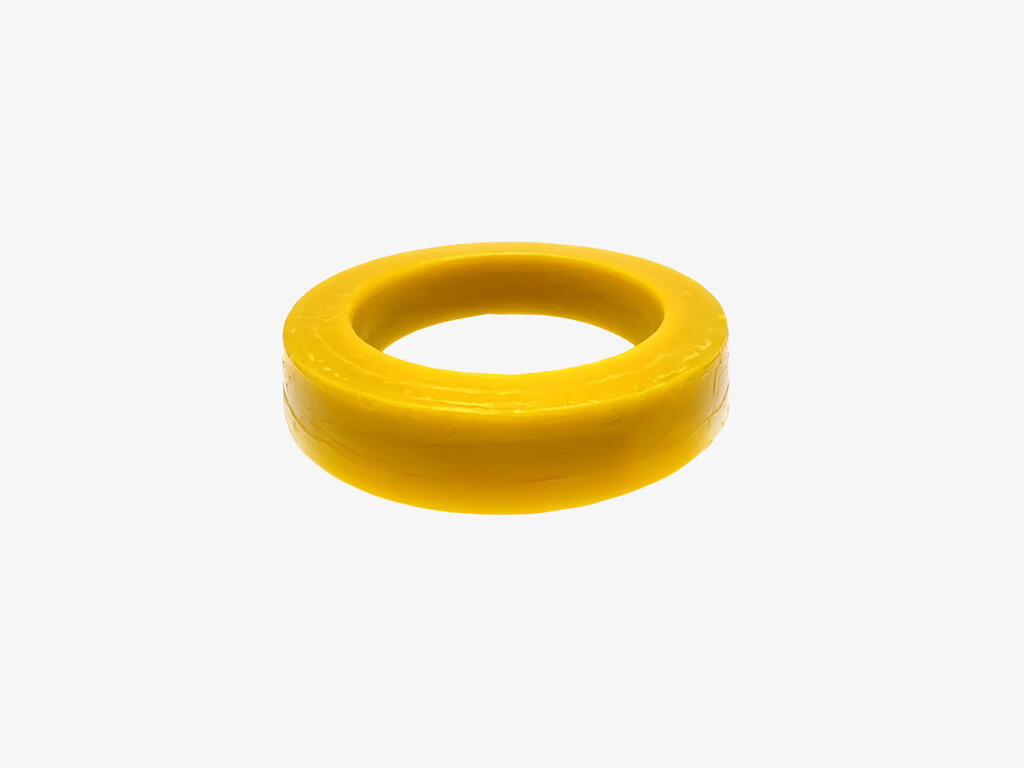
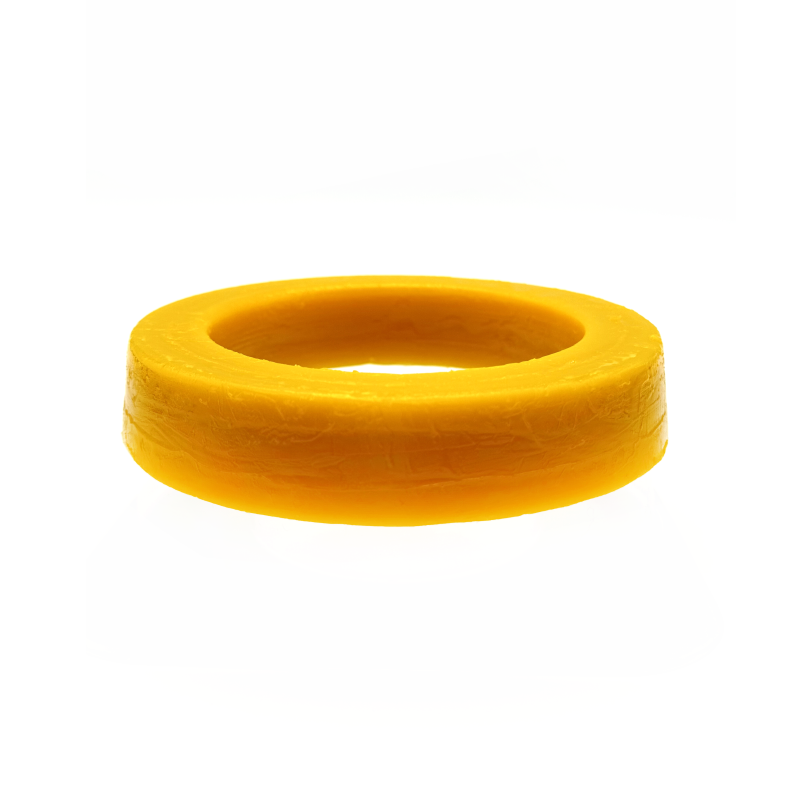
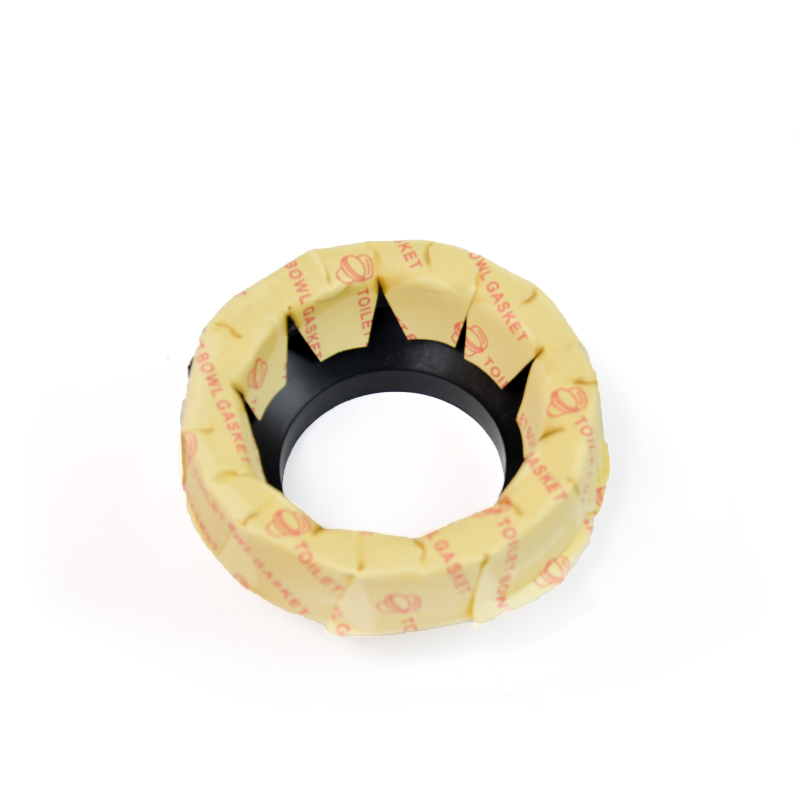
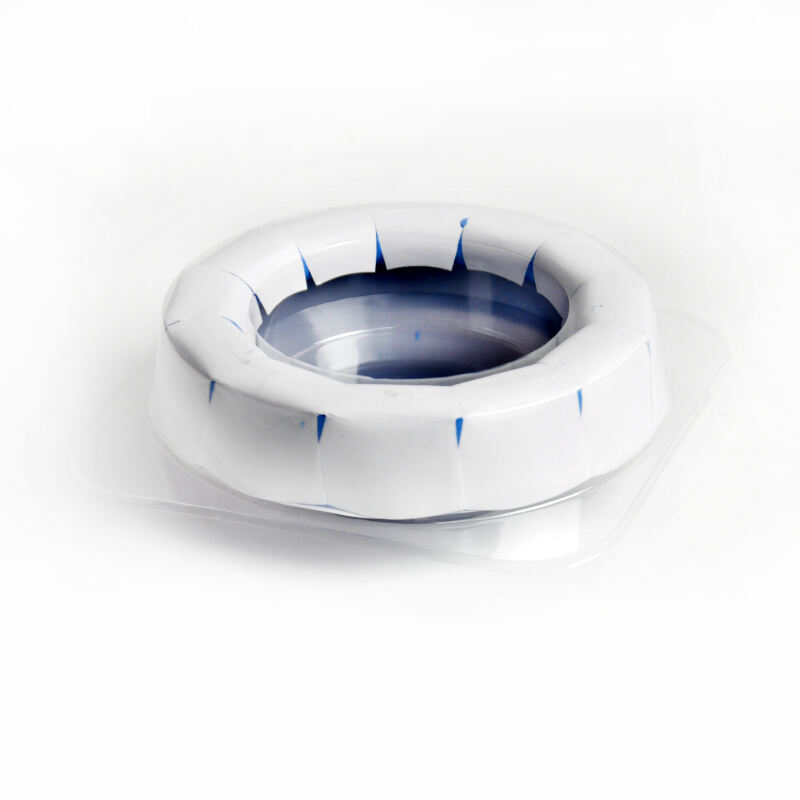
Toilet wax ring replacement is a critical plumbing maintenance procedure that involves removing an old, worn, or damaged wax ring and installing a new one to restore the watertight and gas tight seal between the toilet bowl and the floor flange. Over time, wax rings can degrade due to age, repeated use, temperature fluctuations, or exposure to cleaning chemicals, leading to leaks, water damage, or unpleasant sewer odors. Recognizing the signs that a wax ring needs replacement—such as water pooling around the base of the toilet, a loose toilet, or persistent odors—is essential for preventing more extensive damage to floors, subfloors, and surrounding structures. The replacement process begins with preparing the workspace and gathering necessary tools, including a wrench, screwdriver, putty knife, rags, and a new wax ring or alternative seal. The first step is to turn off the water supply to the toilet and flush it to empty the tank and bowl. The water supply line is then disconnected from the tank, and the toilet bolts securing the bowl to the floor are loosened and removed. Carefully lifting the toilet off the flange reveals the old wax ring, which is typically crumbled or misshapen. Thorough cleaning of the flange and the base of the toilet is crucial, as any remaining wax, debris, or corrosion can compromise the new seal. A putty knife or scraper is used to remove old wax residue from the flange and toilet base, taking care not to damage the flange itself. Inspecting the flange for cracks, corrosion, or damage is an important step in the process; a damaged flange may need repair or replacement before installing the new wax ring to ensure a proper seal. Once the flange is clean and in good condition, the new wax ring is positioned centered on the flange, with the horn (if present) extending into the drain pipe. For wax free alternatives like rubber seals, the installation follows similar alignment guidelines. The toilet is then carefully lowered back onto the new ring, ensuring it is properly aligned with the flange and bolts. Pressing down firmly on the toilet base compresses the wax or rubber seal, creating an initial seal. Reinstalling the toilet bolts and tightening them evenly—taking care not to over tighten and crack the porcelain—secures the toilet in place. Reconnecting the water supply, turning the water back on, and flushing the toilet allows for checking for leaks around the base. It may be necessary to tighten the bolts slightly more if a leak is detected, but this should be done gradually to avoid damage. Allowing the seal to set for a few hours before regular use ensures optimal performance. For DIY enthusiasts, following proper procedures and taking time to ensure cleanliness and alignment is key to successful wax ring replacement. Professional plumbers often recommend using high quality wax rings or rubber seals to maximize longevity, especially in high use commercial settings. Regular inspection of the toilet base during routine bathroom cleaning can help identify early signs of wax ring failure, allowing for timely replacement before significant damage occurs. By performing toilet wax ring replacement correctly, homeowners and facility managers can restore the toilet’s functionality, prevent water damage, and maintain a hygienic bathroom environment.