
If you’ve ever dealt with a leaky toilet or sewer odors, you know the usual solution: call a plumber, pay a service fee, and wait around while they install a messy wax ring. But what if you could fix the problem yourself in 10 minutes, with no tools, no mess, and no professional help? That’s exactly what the DIY Toilet Sealing Ring is made for.
This moldable, no-wax seal is designed for homeowners to install on their own. No guesswork, no complicated steps — just a quick, reliable fix that works every time.
Why This DIY Toilet Sealing Ring Is Perfect for Self-Installs
Most toilet seals are built for professionals, not regular people. The DIY Toilet Sealing Ring turns that around, with features made specifically for DIYers:
-
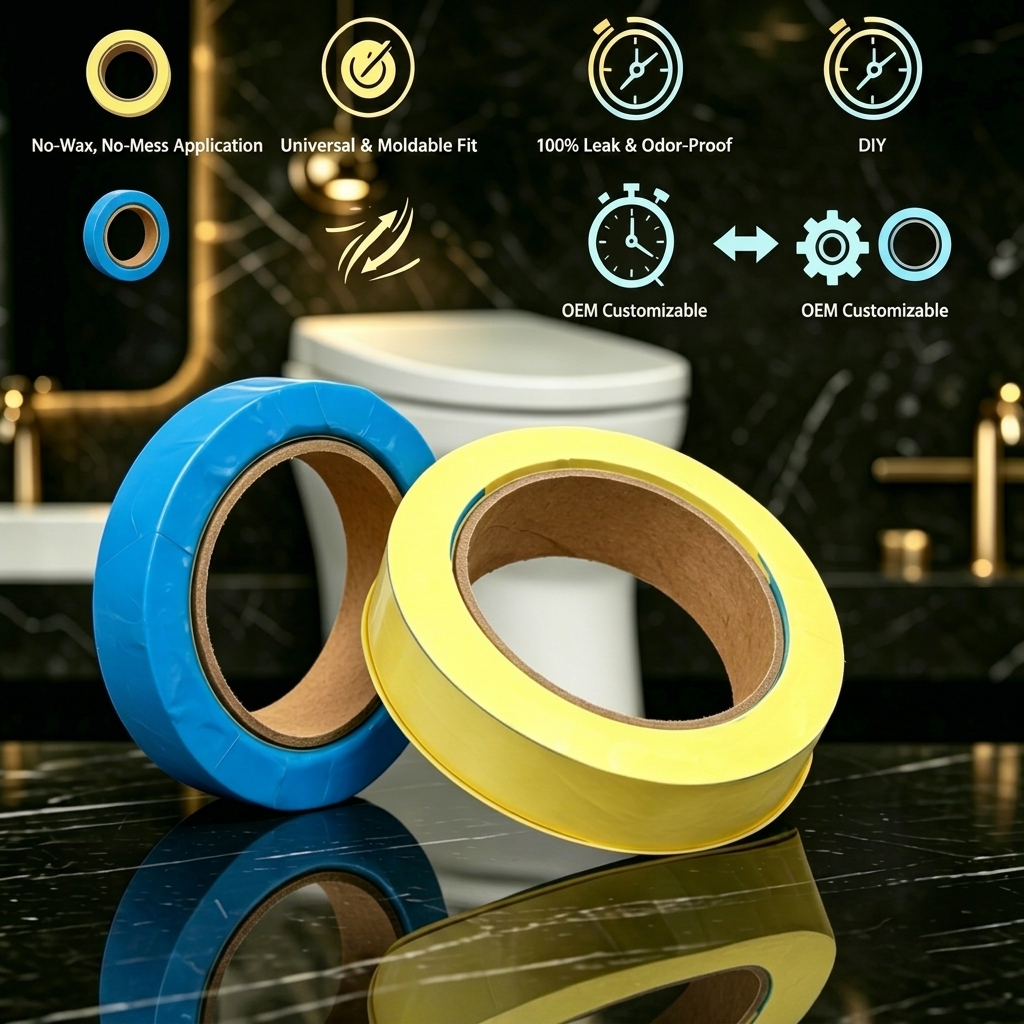
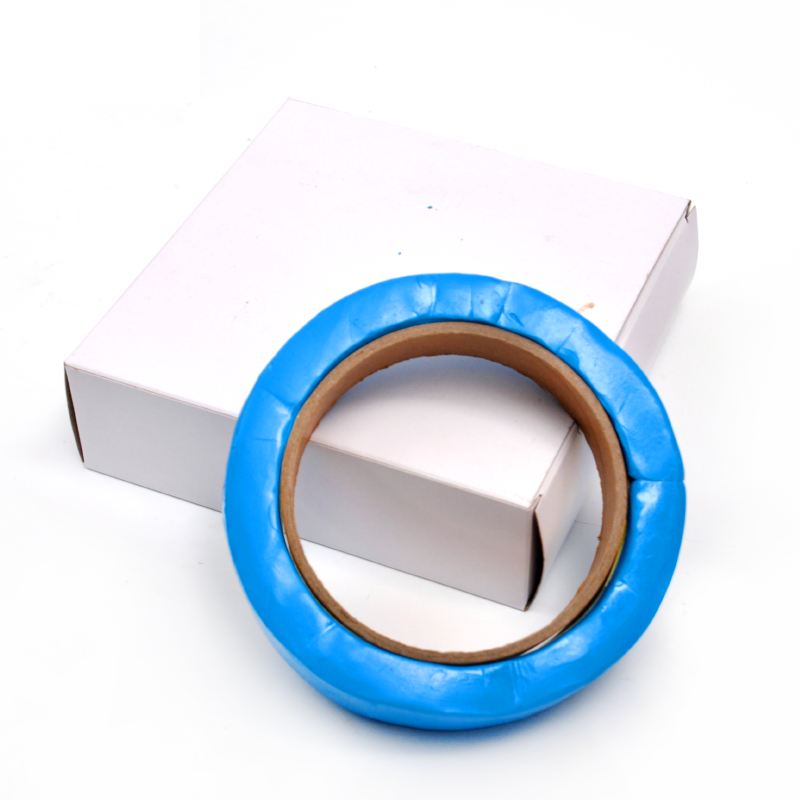
100% No-Wax, No-Mess Application Unlike traditional wax rings that stick to everything, this ring is clean to handle. It won’t leave sticky residue on your hands, tools, or floor. Just knead it, shape it, and place it — done.
-
Fits Any Toilet Flange, Even Non-Standard Ones No more stressing over “what size do I need?” The ring is fully moldable, so it adapts to offset, uneven, or damaged flanges. It works with every standard toilet, no exceptions.
-
Install in 10 Minutes, No Tools Required You don’t need wrenches, special tools, or plumbing experience. Just basic household items and a few minutes of your time. Turn off the water, clean the area, knead the ring, set the toilet back — and you’re done.
-
No Plumber, No Hidden Costs Skip the service fees and wait times. This ring lets you take control of your own bathroom repair. You save money, time, and the hassle of scheduling appointments.
The Step-by-Step DIY Installation (For Anyone, No Experience Needed)
-
Prep the toilet and area Turn off the water supply, flush the toilet to empty the tank, and remove the old seal. Clean the toilet base and drain pipe until they’re dry and free of debris.
-
Knead the DIY Toilet Sealing Ring Take the ring and knead it between your hands for 30-60 seconds until it’s soft and pliable, like modeling clay. This is the key step to ensure a perfect fit.
-
Shape and apply the ring Roll the kneaded ring into a circle that fits your drain pipe. Press it firmly around the opening, making sure there are no gaps or thin spots.
-
Set the toilet and test Lower the toilet back onto the ring, press down evenly to compress it, and tighten the bolts. Turn the water back on, flush a few times, and check for leaks. That’s it — no mess, no stress, just a tight seal.
Who This DIY Toilet Sealing Ring Is For
This isn’t just a product — it’s a solution for people who want to fix their own home problems without the hassle. It’s perfect for:
- Homeowners tired of paying plumbers for simple repairs
- Renters who want a quick, non-permanent fix for leaks and odors
- DIY beginners looking for their first easy plumbing project
- Anyone with an older or non-standard toilet flange that doesn’t fit regular seals
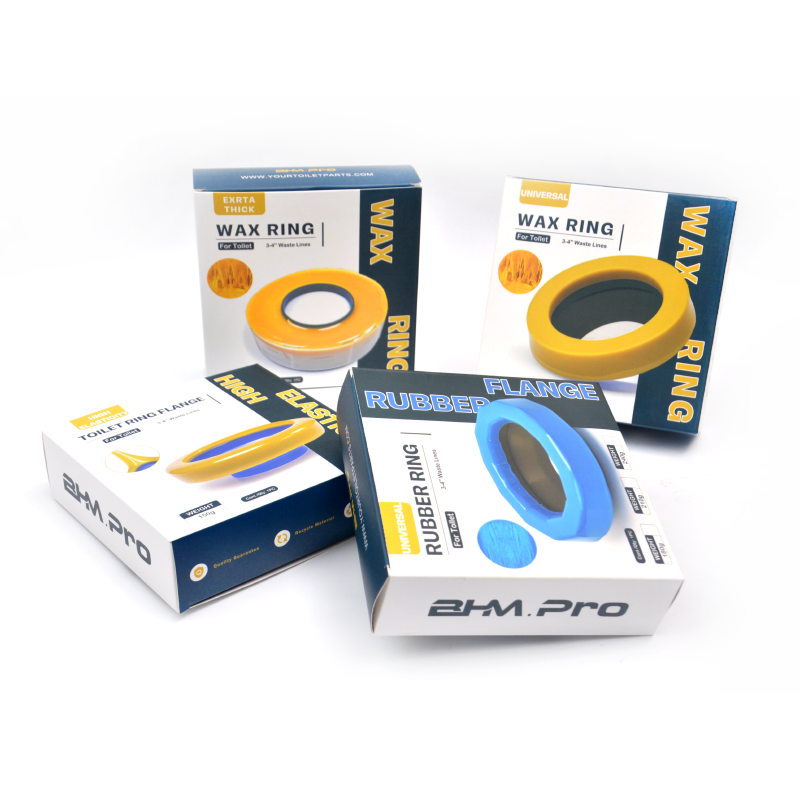
Why Choose This Over a Traditional Wax Ring?
Wax rings are outdated, messy, and only work for one size. They crack over time, leave residue, and often require a plumber to install. The DIY Toilet Sealing Ring solves all those problems:
✅ No wax, no mess
✅ Universal fit for any toilet
✅ Install by yourself in minutes
✅ Durable, long-lasting seal against leaks and odors
✅ No professional tools or experience needed
It’s the simple, DIY-friendly upgrade that makes a huge difference in your bathroom.

