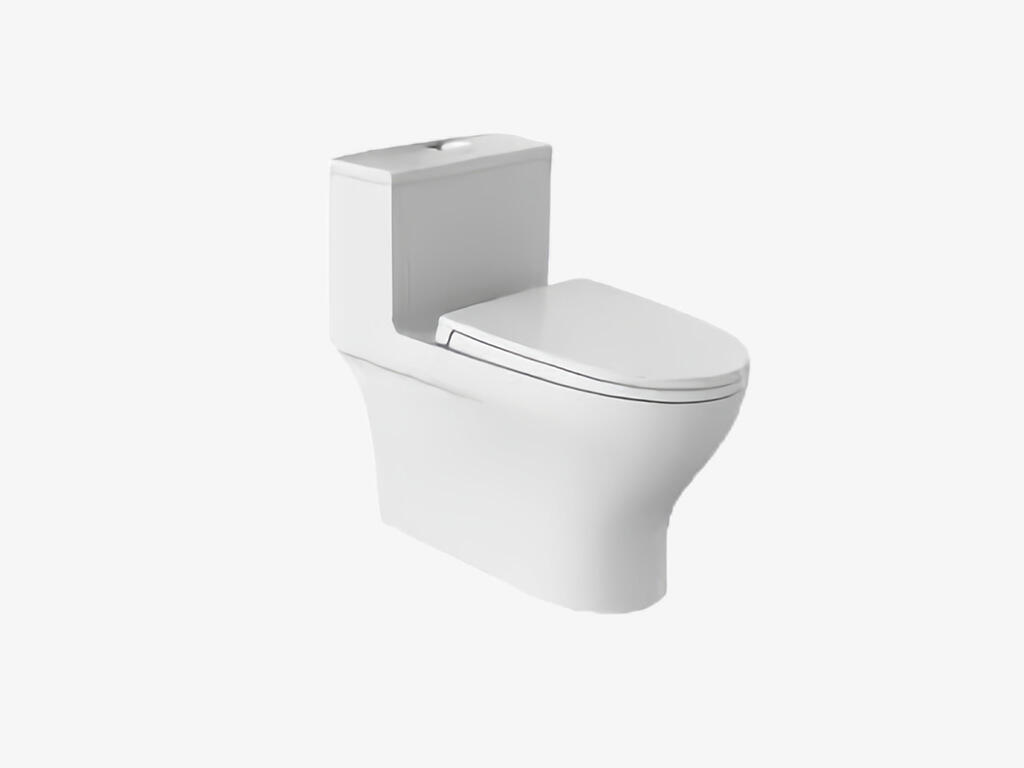
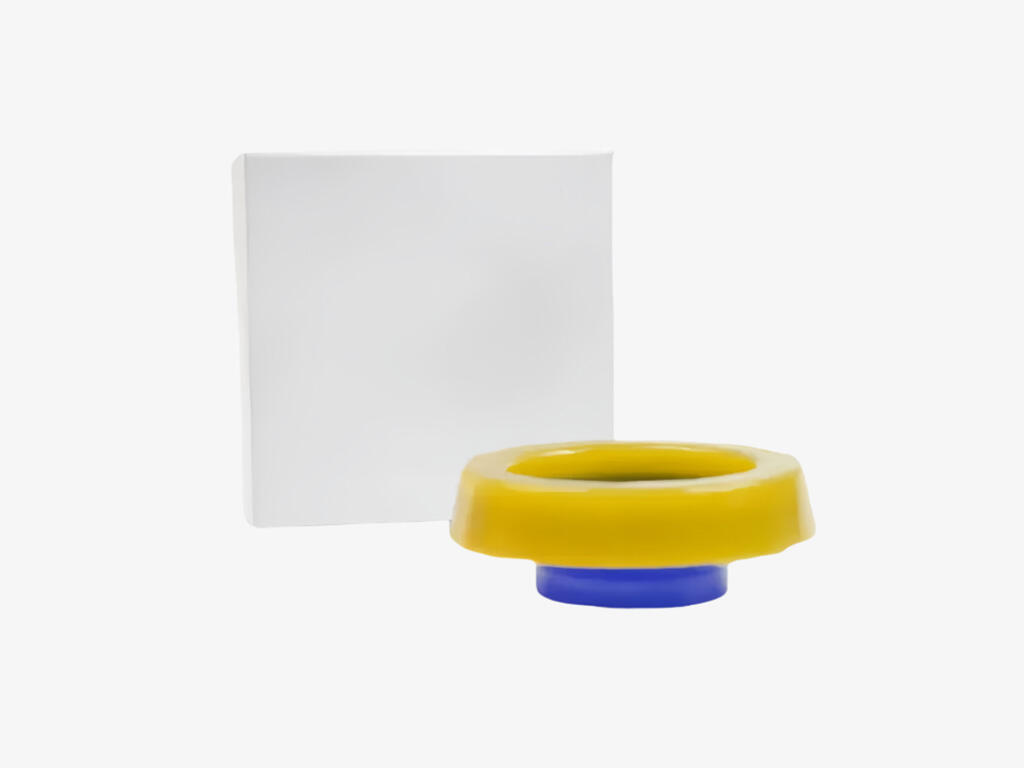
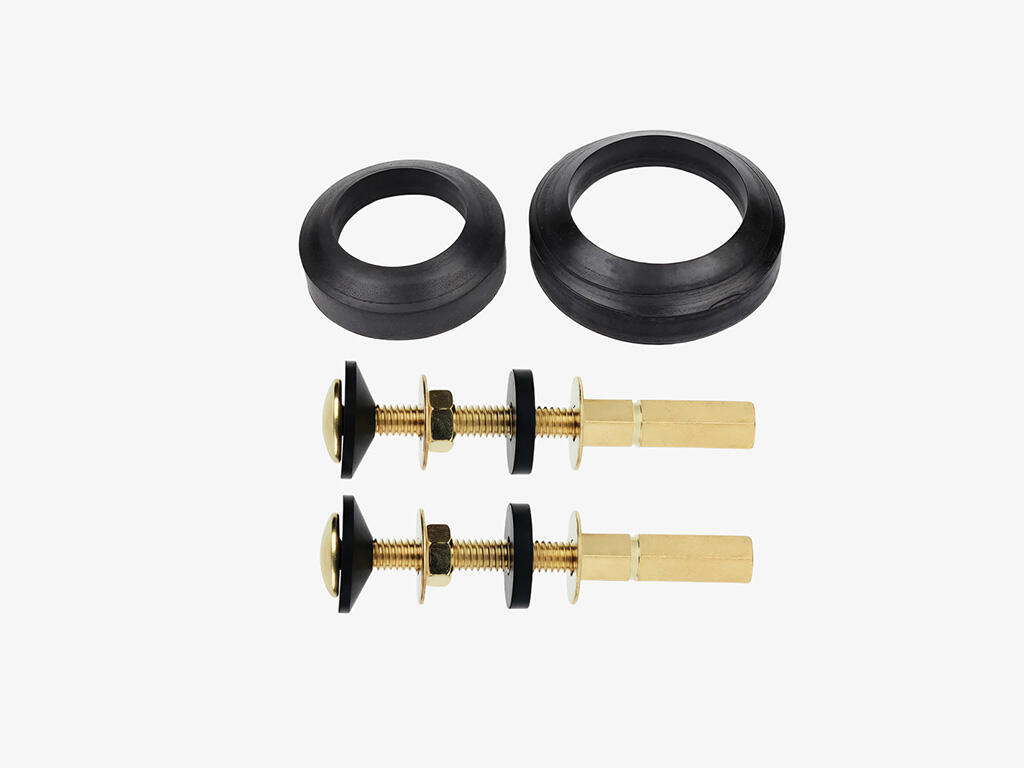
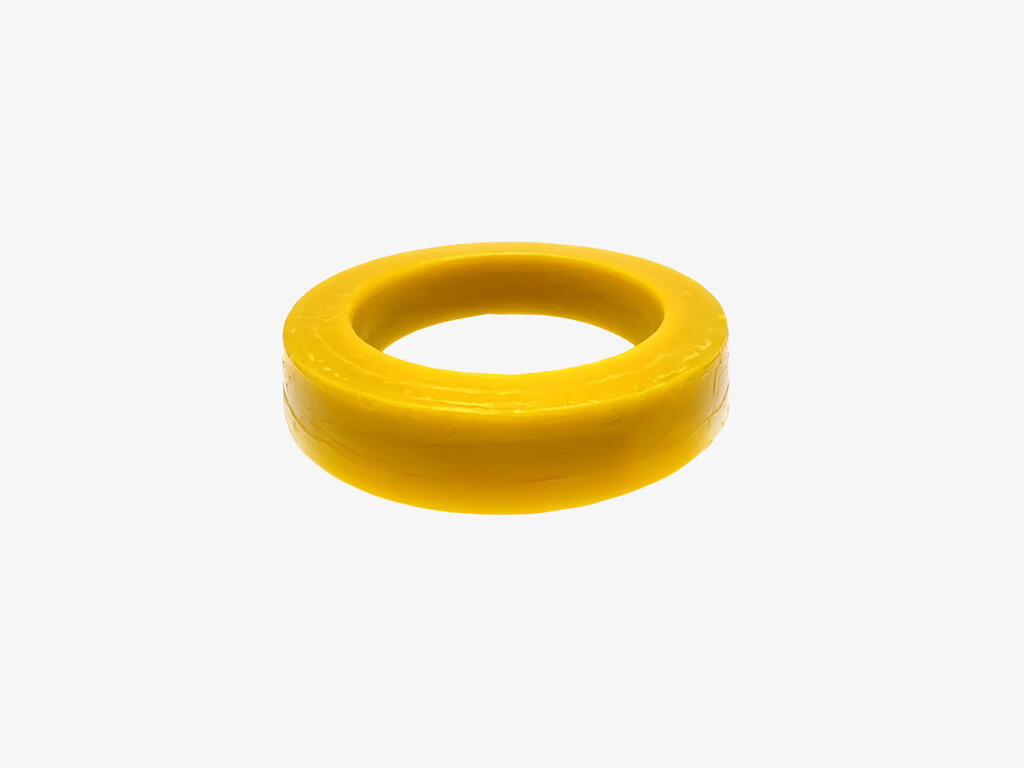
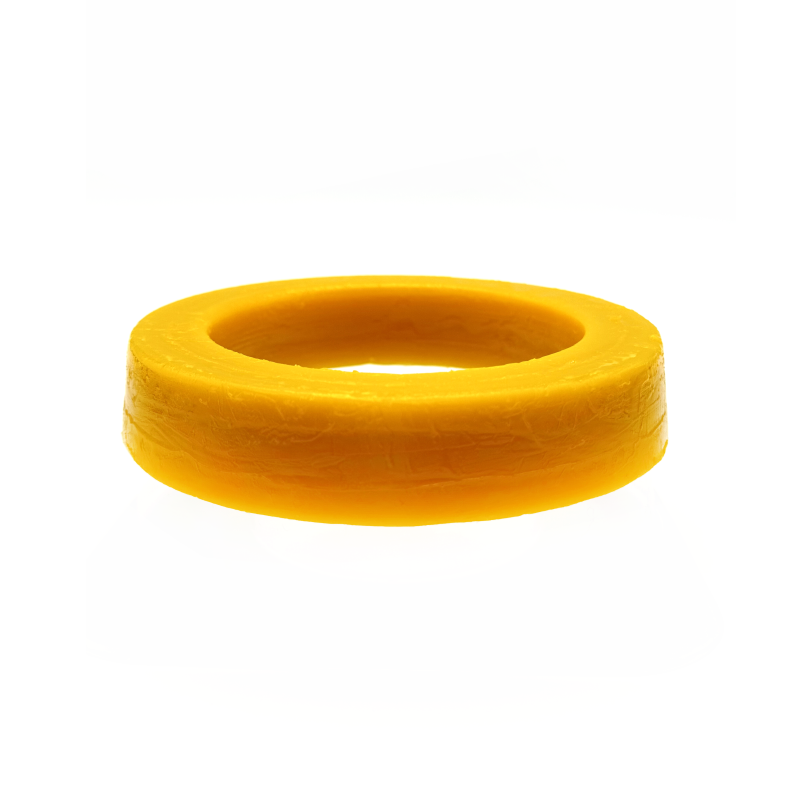
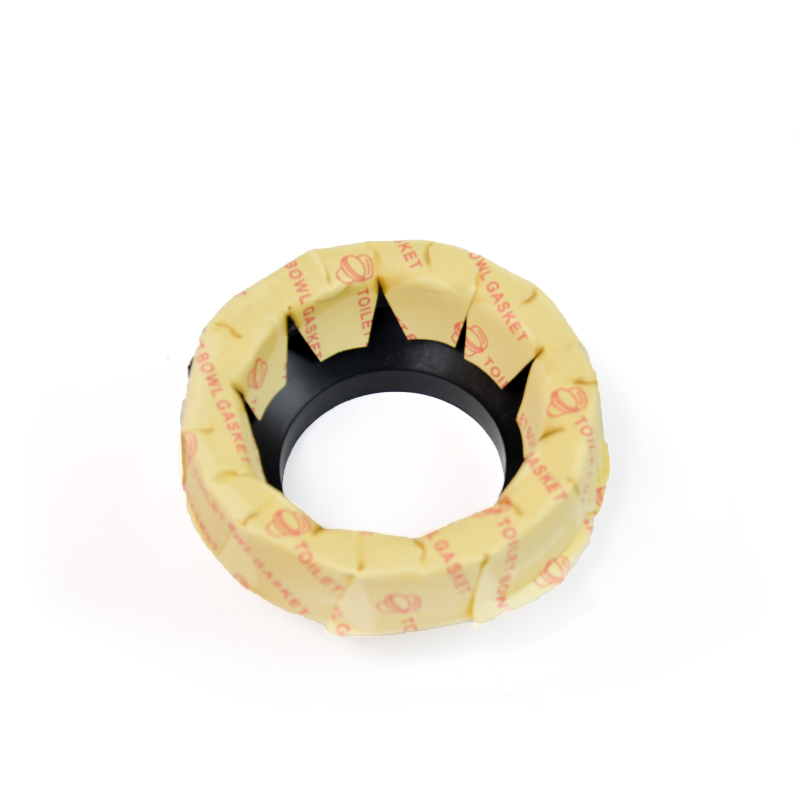
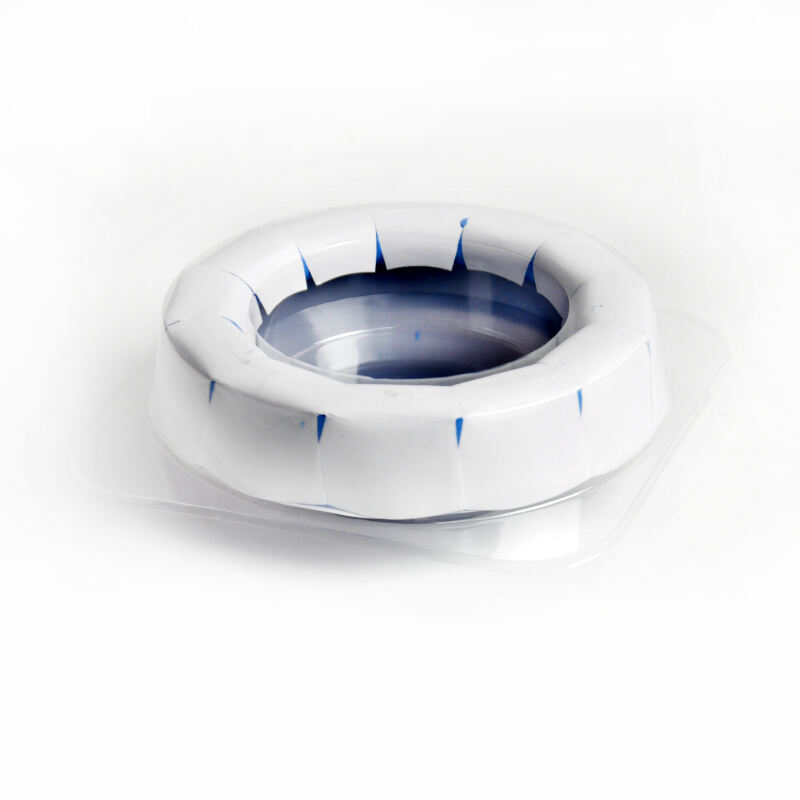
DIY toilet installation is a practical and cost effective home improvement project that allows homeowners to replace or install a toilet without professional plumbing assistance, provided they follow proper procedures and safety guidelines. This process involves several key steps, from preparing the workspace to connecting the water supply, with careful attention to sealing, alignment, and stability being critical for long term success. Before beginning, gathering the necessary tools and materials is essential, including a new toilet, wax ring or rubber seal, toilet bolts, a wrench, screwdriver, level, putty knife, and rags. Preparing the area involves turning off the water supply to the existing toilet, flushing to empty the tank and bowl, and disconnecting the water supply line. Removing the old toilet requires loosening the mounting bolts, lifting the fixture, and thoroughly cleaning the flange and surrounding area to remove old wax residue and debris. Inspecting the flange for damage is a crucial step; cracks, corrosion, or an uneven surface must be repaired before installing the new toilet to ensure a proper seal. Once the flange is clean and in good condition, the new wax ring or rubber seal is positioned centered on the flange, with the horn (if present) extending into the drain pipe. Carefully lowering the new toilet onto the seal ensures proper alignment with the flange and bolts, avoiding rocking or twisting that could compromise the seal. Pressing down firmly on the toilet base compresses the wax or rubber, creating an initial seal. Securing the toilet with mounting bolts, tightened evenly to prevent cracking the porcelain, followed by attaching decorative bolt caps completes the mechanical installation. Connecting the water supply line, turning the water back on, and checking for leaks around the base and connections is the final critical step. A level should be used to ensure the toilet sits evenly, adjusting with shims if necessary to prevent rocking, which can damage the seal over time. DIY installers should also verify that the toilet is properly vented and that the drain line is clear to prevent clogs. While DIY toilet installation is manageable for most homeowners, attention to detail is paramount. Using high quality materials, such as a reliable wax ring or rubber seal, ensures a long lasting seal. Taking time to align the toilet correctly and tighten bolts gradually prevents common issues like leaks or unstable fixtures. Many hardware stores and online resources offer detailed guides and video tutorials specific to different toilet models, providing valuable support for first time installers. Successful DIY toilet installation not only saves on professional fees but also gives homeowners a sense of accomplishment and a better understanding of their plumbing system. Regular inspection after installation, particularly checking for leaks during the first few uses, helps identify and address any issues promptly. With patience, proper tools, and adherence to instructions, DIY toilet installation can result in a functional, leak free fixture that serves reliably for years.